B2B Web Design 101: 15 Website Launch Tips You Need to Know

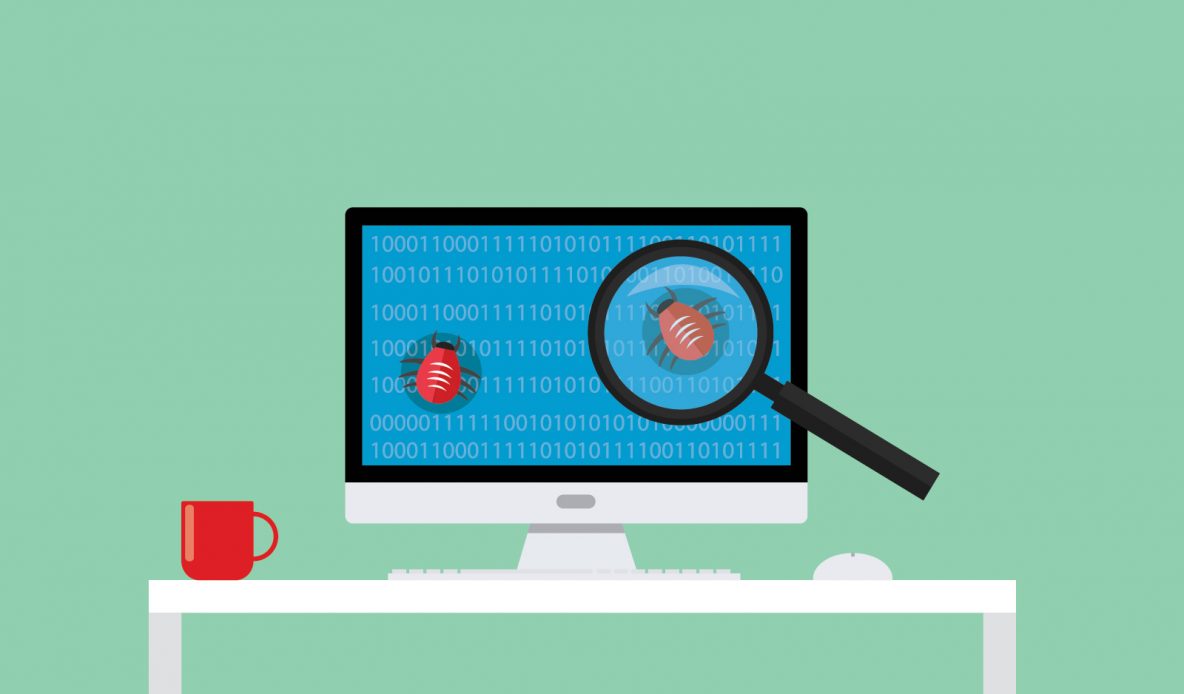
2 to 4 Weeks Prior: Commence Quality Assurance Testing
So, you’re about to launch your greatly anticipated B2B website. Congrats! We’re sure you’ve read our previous blog on how to market your new site. Once you’ve done that, you’ve graduated to this blog: How to ensure top-notch quality, functionality, and thus, a positive user experience.
Testing and retesting your B2B website is a hugely critical piece of a successful website launch. At Lform Design, we have a full-time quality assurance tester and content manager armed with a stringent quality control process and checklist he must go through.
Rather than share the collosal checklist which requires weeks of meticulous oversight, we’ll cover a few of the fundamentals you should absolutely apply:
-
Test all website form submissions: Verify that each form on your website is functioning properly without any errors, especially your contact form. Log into the backend to check that forms are being recorded and/or emailed to the right people. Ask these team members if they received all the test submissions. We don’t need to tell you that lead generation is a critical component of a B2B website!
-
Test your email: If your aren’t receiving emails, consider using Mailgun. It’s our email relay tool of choice.
-
Check all navigation menus, links, and content: We know it’s tedious, but it’s absolutely a necessity: Manually click on each link, button, and menu item to ensure proper navigation. Also be sure to proofread your content and web copy for spelling and grammar errors or blatant areas that have gaps in content or worse, have fake dummy content that has nothing to do with your company!
-
Install Google Analytics, Google Tag Manager, and Hotjar: Google Analytics is a super important (and free) web analytics tool that helps you analyze your website traffic and aggregates the data in for primary ways: a user level related to actions by each user, a sessions level looking at each individual visit, a pageview level referring to each individual page visited, and an event level collecting all the data from button clicks, video views, and so on. To further your website analytics, install Hotjar, which allows you to get a little stalker-like (I mean molecular,) allowing you to observe and measure user behavior through tools like heatmaps and recordings of visitor usage. Finally, Google Tag Manager is a tag management system that allows you to easily update tracking codes and related code fragments collectively known as “tags” on your website or mobile app. You can use it to manage many different third-party tags like Twitter, Bing Ads, Crazy Egg, and Hotjar. The biggest benefit to Google Tag Manager is that it makes it easier for marketers to implement tags without having to rely on web developers.
-
Conduct a Google speed check: PageSpeed Insights reports on the real-world performance of a page for mobile and desktop devices and shares what you can do to make it run faster or better overall.
-
Identify who’s handling your chatbot: If you install a live chat feature as part of your B@B web design, don’t wait until you launch the site to figure out who is manning it.
-
Prove ownership of your site: Verify the ownership of your website with Google Search Console. The first step in editing your Google listing is to verify the ownership of your site. This is done through multiple ways set up by Google. You can do it by uploading an HTML file to your site, setting up an HTML tag, through Google Analytics or Google Tag Manager, and even through your DNS settings. This is done to prove that you, or the company you work for, are the ones actually updating the site and updating your Google listing.
-
Set up a preferred domain: When updating your Google Search Console, you should also set up a preferred domain. What that means is: if someone were to navigate to your site by putting in “WWW.” or just the URL, it will all lead to the same URL. If you have an SSL installed, any instance of a person going to an http:// version of the site can be redirected to the https:// version. This is important because Google can read the WWW and the non-WWW urls as two different sites with duplicate content, which can drop your SEO rankings. Google is not a fan of duplicate content. It is personal preference for whether or not you use a WWW link or a non-WWW link. To some, WWW appears more professional; but for others with a long URL, the non-WWW link may be preferred.
-
Use a security plugin for WordPress: With WordPress being one of the most popular platforms to build a site on, there are many hackers who look for vulnerabilities and try to gain access into those sites. If your new site was created in WordPress we recommend you review some of the security plugins that are available. These security plugins can create a defensive shield and help block potential hackers from accessing certain parts of your site. But, make sure to do the research first to vet the plugins before downloading them and activating them.
-
License and optimize photos: Ensure that the licensing for your stock photography is in place and that all images are optimized for the web so the site loads faster.
-
Set up a favicon: Everybody loves a favicon. They might not know what it’s called, but everyone subconsciously responds to them, so make sure you’ve designed on and have it set up for site launch.
-
Double-check title tags and meta descriptions: When updating or launching a new site, make sure the title tags and meta descriptions match each page on your site. Title tags are used in a couple of different ways. The title tags are displayed when searching on a search engine, displayed at the top of the browser window, and when you are sharing your site through social media, it shows the name of the page. Meta descriptions are a synopsis of the content on the page for search engines to read and understand the content. Making sure both of these correctly reflect the content on the page will help increase your SEO standings.
-
Submit your sitemap: Make sure to submit your sitemap through Google Search Console so it can crawl the site faster and update the Google listing of your site. If you do not update it, it will take much longer for Google to index it and adjust your rankings on Google listing.
-
Check your redirects: If you had an old site and are launching an updated version, make sure all your redirects from the previous site are in place and working correctly. This means if the page has changed its location in a parent category or a child category, make sure the redirect goes from the old page to the new updated link.
-
Get blogging: Content is king. And Google loves fresh, relevant content, so start blogging. If a blog is new to your site, try to aim to write one a month before the launch so that you have three new ones up for launch and it doesn’t appear empty. If you have an existing blog that isn’t regularly updated, it’s still a good idea to write a few before the site goes live. We know how busy you are and how a blog might be pushed to the side, so write and pre-schedule a few. Regular blogging makes a world of difference for SEO, but in order to rank high in searches, you have to do it regularly! We recommend two per month.
Your B2B Website Launch Plan
As you can see, it takes a monumental amount of planning and preparation to launch a B2B website. You’ve invested so much time, money, and resources with your B2B web design, so it’s important your new website properly and to have a pre- and post-launch strategy in place to create a buzz around the event and to maximize your investment. Good luck, and congratulations on your new website!